
Glass Hob Installation Guide: Must-Follow Safety Steps for Kitchens
Glass Hob Installation Guide: Must-Follow Safety Steps for Kitchens
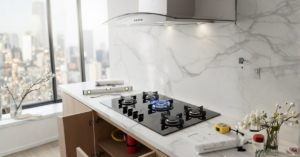
A new glass hob can instantly modernize your kitchen, but in Karachi (and across Pakistan), the installation is where most problems start: the cutout is slightly off, ventilation is ignored, sealing is rushed, or the gas/electric hookup is handled without proper safety checks. That’s why this glass hob installation guide focuses on safe, correct, and practical installation steps for real Pakistani kitchens—apartments, portion houses, and compact counters.
In this article, you’ll learn the full process of glass hob installation for built-in units: planning your hob cutout sizes, ensuring undercounter clearances, meeting hob ventilation needs, selecting the right electrician for hob or gas technician, and doing proper sealing around hob for a neat, water-resistant finish. You’ll also understand when DIY hob installation is reasonable—and when it is smarter (and safer) to pay for professional help, including a realistic view of professional installation cost.
And because informational content should also lead to confident action: if you want the right hob, the right accessories, and support that fits Karachi conditions, Xperts can help you choose compatible models and guide installation requirements upfront, so you avoid warranty issues and rework.
Glass hob installation checklist
Before you start a built-in hob install, treat this like a safety project, not a quick DIY task. Most installation failures in Pakistan happen because people skip the checklist and “adjust later.”
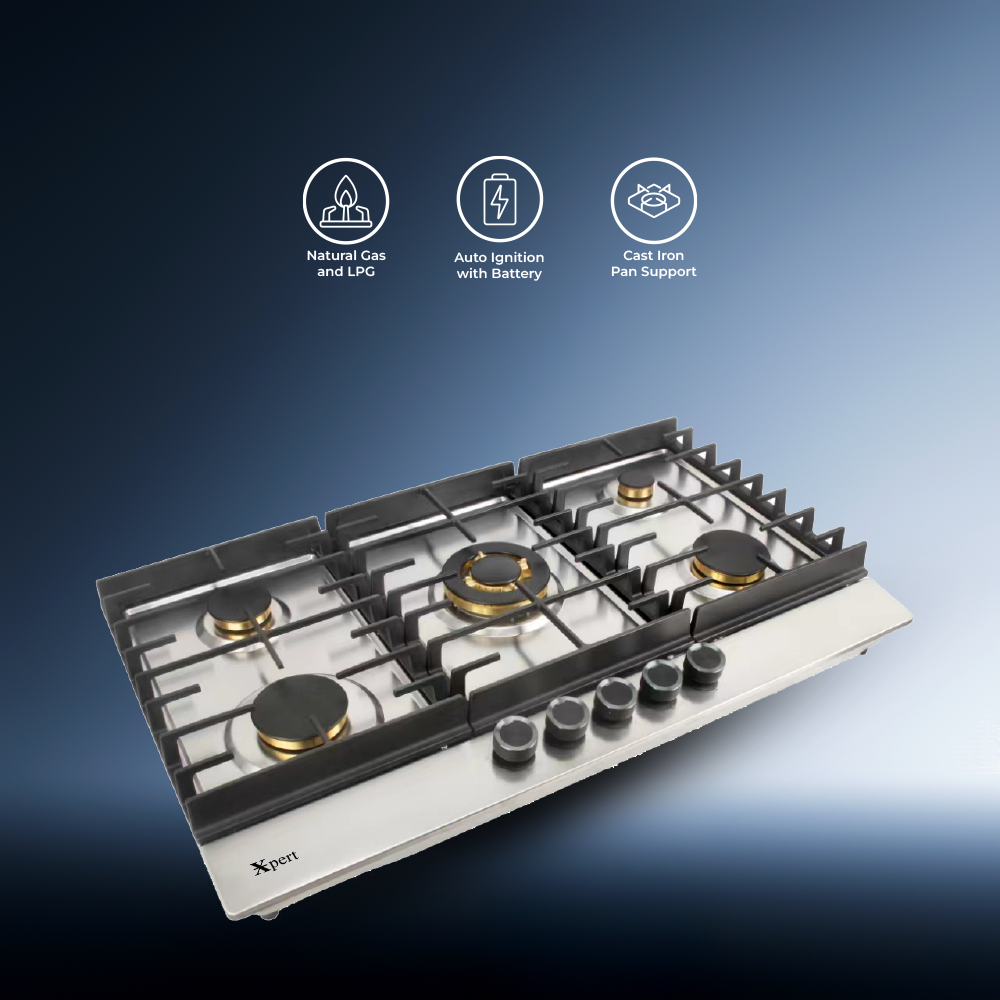
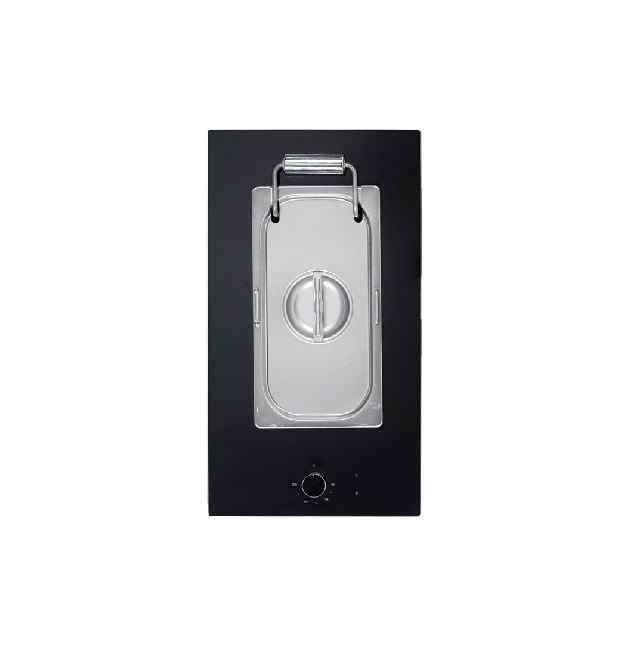
1) Confirm the hob type: gas, electric, or induction
Your connection plan depends on the hob type:
- Gas glass hob: needs safe gas piping and leak testing
- Electric/induction hob: needs correct wiring, earthing, and load capacity
This decision affects hob gas/electric hookup, ventilation, and installer requirements.
2) Check countertop strength and reinforcement
Glass hobs look light, but installation pressure and heat require stable support.
Countertop reinforcement checks:
- No cracks near the cutout
- Strong base support under the hob area
- No loose sections that flex when you press down
This prevents future wobble and reduces risk of glass stress.
3) Confirm ventilation hood compatibility and airflow
People ask, “Do I need ventilation for a glass hob?” In Karachi kitchens, ventilation is strongly recommended because:
- Frying and spice cooking generates oil vapor
- Gas flame adds heat and indoor fumes
- Humidity can trap odors and grease in cabinets
Ventilation hood compatibility tips:
- Place the hob close to the hood’s effective suction zone
- Keep filters clean (dirty filters reduce airflow)
- Avoid installing the hob where airflow is blocked by overhead cabinets
This supports your hob ventilation needs and improves long-term cleanliness.
4) Undercounter clearances: don’t guess
Undercounter clearances are frequently ignored, then installers struggle with piping/wiring.
Check:
- Clearance for gas line bends or regulator placement (for gas)
- Clearance for junction box and cable routing (for electric)
- No drawers directly colliding with piping/cables
- Heat-safe spacing if the hob sits above an oven
This is essential for safe built-in hob install.
5) Gather installation parts before you cut anything
A clean installation needs the right small parts:
- Hob mounting clips (usually provided with the hob)
- Heat-safe sealant or gasket (model-specific)
- Correct cable & plug type (electric)
- Gas-rated fittings and valve access (gas)
If anything is missing, stop and arrange it first.
6) Decide DIY vs professional
“Can I install a hob myself?” Sometimes yes—but not when you’re unsure about electricity or gas.
DIY hob installation can be okay if:
- Cutout already exists and matches the hob spec
- You are only replacing a similar hob (hob replacement)
- You are not changing electrical load or gas line routing
Use a professional (recommended) if:
- New cutout is required in granite/marble
- You need a new power line, breaker adjustment, or earthing check
- Gas piping needs extension, new valve, or route change
- You want warranty-safe installation documentation
In Karachi, paying an experienced installer often saves money compared to rework. Xperts can guide you toward compatible models and installation requirements so you don’t buy a hob that becomes a cutout problem later.
Measuring & cutout standards
Correct measuring is the heart of safe glass hob installation. Your buying guide should already have introduced cutout logic; here we make it actionable.
1) Measure the cutout—never rely on “standard”
A common misconception is that all hobs fit one cutout. They do not.
You must measure:
- Cutout width
- Cutout depth
- Corner radius requirements (some models need rounded corners)
- Countertop thickness
- Safe edge distance from countertop borders
2) Common cutout dimensions: 60cm and 90cm (use as reference only)
People also ask: “What are standard hob cutout sizes?” The market commonly uses 60cm and 90cm product classes, but hob cutout dimensions 60cm and 90cm hob cutout still vary by brand and model.
Practical rule for Pakistan:
Use the manufacturer’s datasheet as the final reference. Treat “60cm” and “90cm” as categories, not guaranteed cutout sizes.
3) Create a simple hob cutout diagram for your installer
Even if you’re hiring a professional, a basic hob cutout diagram prevents miscommunication.
Include:
- Exact cutout W x D
- Counter thickness
- Under-counter clearance notes
- Valve location (gas) or socket/junction location (electric)
- Hood alignment notes
This one page reduces errors during installation day.
Electrical & piping connections
This section is high-stakes. If you are not trained, do not improvise.
Electrical connection (electric/induction)
For electric hobs, the big concerns are load, earthing, and correct connection type.
Cable & plug type checklist:
- Confirm whether the hob is plug-in or requires hardwiring
- Confirm wire gauge and breaker compatibility
- Confirm earthing/ground is present and functional
- Avoid extension cords and low-quality adapters
If you’re unsure, hire an electrician for hob. In Karachi, many homes have mixed wiring quality, and a high-power appliance can trip circuits or overheat weak connections.
Gas connection (glass gas hob)
Gas work should be handled by someone who can test leaks properly.
Hob gas/electric hookup (gas) safety steps:
- Install a reachable shut-off valve
- Use proper gas-rated fittings (no cheap substitutes)
- Perform leak test using approved method (do not rely on smell alone)
- Ensure the hose/path does not touch hot surfaces
- Confirm flame stability and ignition performance
This is where safe installation prevents accidents, especially in apartment kitchens.
Installation cost: what Karachi buyers should expect
People ask: “How much does installation cost?” Costs vary based on:
- New cutout vs replacement
- Granite/marble cutting complexity
- Electric line work or gas line routing
- Distance to service access points
Professional installation cost is usually higher when wiring or gas piping changes are required. A cheap installation that skips safety checks is not a savings—it’s a future repair or hazard.
Sealing & finishing
A built-in glass hob should look neat, sit flat, and stay protected from water seepage. This is where many installs look “unfinished.”
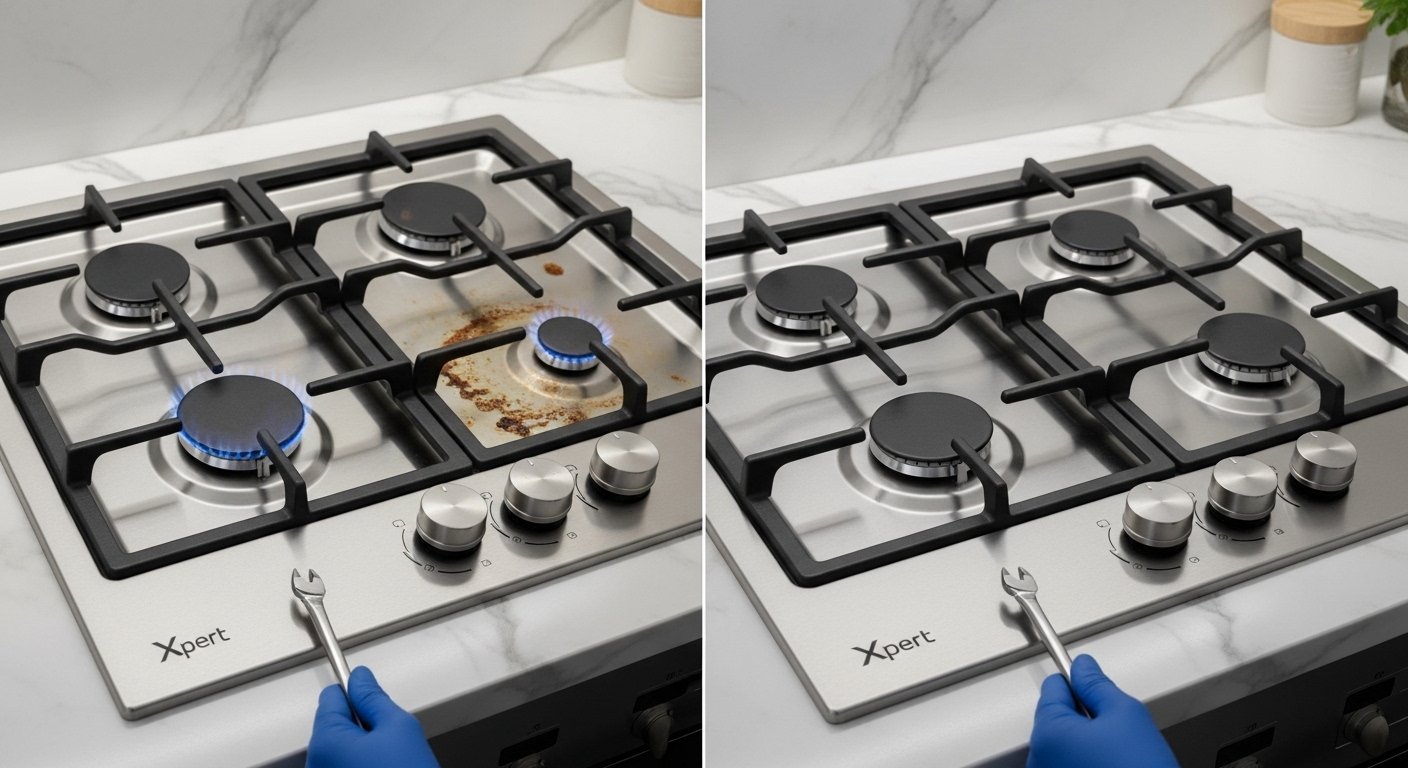
Sealing around hob: clean, even, and heat-safe
Sealing around hob helps:
- Prevent water entering the cabinet
- Reduce grease seepage
- Improve stability and aesthetics
Best practice:
- Use the gasket provided by the manufacturer when available
- If sealant is used, choose heat-safe and apply evenly
- Avoid over-sealing that makes future removal impossible
- Keep the seal line clean—wipe excess immediately
Hob mounting clips and alignment
Use hob mounting clips correctly:
- Tighten evenly
- Do not over-tighten (can stress glass or warp alignment)
- Confirm the hob sits level (important for pot stability)
A level fit is part of professional finishing and reduces long-term rattling or loosening.
Final checks after installation
Before you call it “done,” do these checks:
- Hob sits flat with no rocking
- Controls respond properly
- Gas flame is stable (gas model)
- No smell, no sparking, no overheating at connection points
- Hood captures steam/smoke effectively
If anything feels off, pause and fix it now rather than “adjust later.”
Troubleshooting installation issues
This section supports your broader troubleshooting cluster and can link to Article 8 (safety & troubleshooting).
Issue 1: Hob doesn’t sit flat
- Cutout uneven or countertop warped
- Clips tightened unevenly
Fix: level the surface, retighten evenly, confirm gasket position.
Issue 2: Burner flame is weak or uneven (gas)
- Gas pressure variation
- Incorrect jet/air mix or fitting problem
Fix: confirm proper fitting and consult a qualified technician.
Issue 3: Electric hob trips the breaker
- Circuit overload
- Incorrect wiring or weak earthing
Fix: hire an electrician for hob; confirm load and breaker sizing.
Issue 4: Water or oil seeps into cabinet
- Poor sealing around hob
Fix: redo sealing with proper gasket/sealant and clean surface prep.
Issue 5: Excess smoke/odor in kitchen
- Ventilation hood compatibility issue
- Filters clogged or hob placed outside hood capture zone
Fix: clean filters, check hood performance, adjust usage habits.
Conclusion
A safe glass hob installation guide approach is simple: measure correctly, plan hob cutout sizes, respect undercounter clearances, meet hob ventilation needs, and do proper hob gas/electric hookup with trained help where needed. When sealing and finishing is done right, your built-in hob looks clean, performs better, and stays reliable—especially in Karachi’s humidity and heavy cooking patterns.
If you want a smoother purchase-to-install journey, Xperts can help you choose compatible built-in models, confirm cutout requirements upfront, and guide you toward proper installation practices—so you avoid rework, protect your warranty, and get a kitchen setup that feels truly professional.
FAQs (People Also Ask)
- How to install a glass hob?
A safe glass hob installation starts with verifying cutout measurements, ensuring undercounter clearances, confirming ventilation needs, and then completing proper electrical or gas hookup. Finish with sealing around the hob and mounting clips for a stable, level fit.
- Can I install a hob myself?
DIY hob installation can work for simple replacement jobs where the cutout already matches and no wiring/gas routing changes are needed. For new cutouts, electrical load changes, or gas work, professional installation is strongly recommended for safety and warranty protection.
- What are standard hob cutout sizes?
“Standard” categories like 60cm and 90cm exist, but hob cutout sizes vary by model. Always use the manufacturer’s cutout dimensions. For reference topics like hob cutout dimensions 60cm or 90cm hob cutout, treat them as category guides—not universal measurements.
- Do I need ventilation for a glass hob?
In most Karachi kitchens, yes—especially for gas hobs. Proper hood airflow reduces heat, smoke, and grease buildup. Ventilation also improves comfort and keeps cabinets cleaner over time.
- How much does installation cost?
Glass hob installation cost depends on whether you need a new cutout, granite cutting, new wiring, or gas piping changes. Replacement installs typically cost less than full new installations. Always prioritize safe, tested connections over the cheapest quote.